Floor Fitting & Installation Guides, Flooring Advice & How To Guides
Installation Guide for Carpet Tiles
10
Aug
Aug
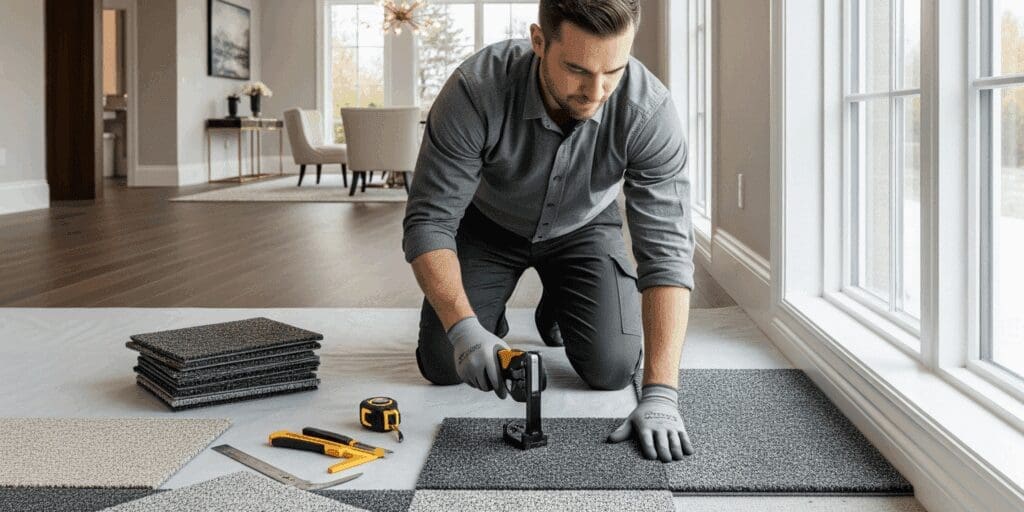
This comprehensive guide will walk you through the process of installing carpet tiles, a versatile and practical flooring solution for both commercial and residential spaces. Carpet tiles are easy to install and replace, making them an excellent choice for a DIY project. By following these step-by-step instructions, you can achieve a professional and long-lasting finish.
Pre-Installation Checklist
Tools & Materials
- Carpet tiles
- Spray adhesive or double-sided tape (specifically for carpet tiles)
- Tape measure
- Chalk line
- Utility knife with a supply of sharp blades
- Long straight edge
- Rubber mallet or roller
- Pencil
- Safety gloves and knee pads
- Broom and vacuum cleaner
- Levelling compound (if required)
Site Preparation
Thorough preparation is the key to a professional-looking installation. Do not skip these steps.
- Acclimatise the Flooring: Place the carpet tiles in the room where they will be installed for at least 24 hours. This allows the tiles to adjust to the room’s temperature and humidity, preventing curling or warping after fitting. The ideal room temperature should be between 18°C and 26°C.
- Clear the Room: Remove all furniture and existing floor coverings.
- Prepare the Subfloor: The subfloor must be completely clean, dry, and flat. Sweep and vacuum thoroughly to remove all dust and debris. Use a long straight edge to check for any unevenness; any dips or humps greater than 3mm over a 1m run should be corrected.
- For concrete floors: Fill any cracks or dips with a suitable levelling compound. Ensure the concrete is fully cured and dry. A moisture test is highly recommended.
- For wooden floors: Ensure all floorboards or plywood sheets are securely fastened and free from movement. Nail or screw down any loose areas. Fill any seams or joints with a smoothing compound to create a perfectly flat surface.
- Plan the Layout: This is the most crucial step for a professional finish. Do not start from a wall. Instead, find the exact centre of the room by measuring and snapping two chalk lines from the centre of opposing walls. The point where the lines intersect is the centre of the room. This ensures that any cuts needed for the perimeter are of a similar size, creating a balanced and visually appealing look.
Step-by-Step Installation Instructions
- Begin at the Centre: Start by laying the first tile at the central intersection you marked with your chalk lines. Place it so that the edges of the tile align perfectly with the chalk lines.
- Lay the First Quadrant: Working outwards from the centre, lay the next tile next to the first one, ensuring the arrows on the back of the tiles are facing the same direction. This is crucial for maintaining a uniform pile direction. Press each tile firmly into place. Continue laying tiles in one of the four quadrants created by your chalk lines, ensuring each tile is butted up tightly against the next with no gaps.
- Secure the Tiles: Once a small area is laid, lift the tiles one by one and apply a thin, even coat of spray adhesive to the subfloor or a few strips of double-sided tape. Re-lay the tiles, pressing them down firmly. Use a rubber mallet or roller to ensure the tiles are securely bonded to the subfloor.
- Repeat for All Quadrants: Continue laying tiles in the remaining three quadrants, working your way towards the walls. As you lay, always remember to check the directional arrows on the back of each tile.
- Cut Tiles for the Perimeter: When you reach the perimeter of the room, you will need to cut the tiles to fit. Place a loose tile exactly over the last full tile in a row. Take another full tile and butt it up against the wall, placing it directly on top of the loose tile. Using a pencil, mark the cutting line onto the loose tile. This mark will give you the exact width needed for the gap.
- Cut and Fit the Edge Tiles: Use a long straight edge and a sharp utility knife to cut the marked tile. It’s best to cut from the back of the tile to get a cleaner edge. Fit the cut tile into the perimeter gap, ensuring the cut edge is against the wall. Repeat this process for all tiles around the perimeter.
- Install Tiles Around Obstacles: For door frames, pipes, or other awkward shapes, create a template out of paper or cardboard. Trace the template onto the back of the carpet tile and use a sharp utility knife to carefully cut the required shape.
- Final Installation Check: Once all tiles are laid, give the entire floor a final press with a roller or a rubber mallet, especially around the edges, to ensure every tile is firmly secured to the subfloor.
Post-Installation Tips & Troubleshooting
After Installation
- Wait at least 24 hours before moving heavy furniture back into the room to allow the adhesive to fully set.
- If there are any loose fibres on the surface, you can use a vacuum cleaner to remove them.
- Regularly vacuum the floor and clean any spills immediately with a suitable carpet cleaner.
Common Problems and Solutions
- Visible Seams or Gaps: This is a common issue and is often a result of either not butting the tiles tightly enough together or not laying them with the arrows pointing in the same direction. If the gaps are small, they may disappear over time. If they are large, you may need to lift the tiles and re-lay them.
- Curling Edges: This usually happens when the tiles were not properly acclimatised or if the subfloor was not completely dry. If the problem is minor, a little more adhesive and a weight placed on the corner overnight might fix it. For severe curling, the tiles may need to be replaced.
- Slipping Tiles: This indicates that the adhesive was not applied correctly or the subfloor was not properly cleaned. Ensure the subfloor is free of dust and debris before applying a fresh layer of adhesive to the problem areas.
- Difficulty Cutting Tiles: Always use a new, sharp blade for cutting. A dull blade can fray the edges of the carpet, leading to a poor fit. Change your blade frequently, especially when working on a large project.