Floor Fitting & Installation Guides, Flooring Advice & How To Guides
Installation Guide for Sheet Vinyl Flooring
10
Aug
Aug
This comprehensive guide will walk you through the process of installing sheet vinyl flooring. A great choice for kitchens and bathrooms, sheet vinyl offers durability and water resistance in a seamless finish. Proper preparation is the most critical part of this project, so be sure to read all instructions carefully before you begin to ensure a professional and long-lasting result.
Pre-Installation Checklist
Tools & Materials
- Sheet vinyl flooring
- Vinyl adhesive (for full or perimeter stick, depending on the room size)
- Tape measure
- Utility knife with a supply of sharp blades
- Pencil
- Straight edge or long ruler
- Heavy-duty scissors
- Notched trowel (for spreading adhesive)
- Roller or block of wood (for smoothing out bubbles)
- Template paper (if required for complex layouts)
- Broom and vacuum cleaner
- Cleaning cloths and solvent
- Levelling compound (if required)
Site Preparation
Thorough preparation is essential for a smooth and flawless finish. Do not skip these steps.
- Acclimatise the Flooring: Unroll the sheet vinyl in a clean, dry room and allow it to lay flat for at least 24 hours. This allows the material to relax and adjust to the room’s temperature and humidity, making it easier to handle and preventing creases. The ideal room temperature should be between 18°C and 26°C.
- Clear the Room: Remove all furniture, skirting boards, and existing floor coverings. Sheet vinyl can sometimes be laid over existing floors (e.g., old vinyl or tiles) if they are in good condition and level, but it is always best to remove the old flooring for the most professional finish.
- Prepare the Subfloor: The subfloor must be completely clean, dry, and perfectly flat. Sheet vinyl will conform to the subfloor, so any imperfections will show through. Sweep and vacuum thoroughly to remove all dust and debris. Check for unevenness with a long straight edge.
- For concrete floors: Fill any cracks or dips with a suitable levelling compound. Ensure the concrete is fully cured and dry. A moisture test is highly recommended.
- For wooden floors: Ensure all floorboards are securely fastened and free from movement. Cover with a minimum of 6mm flooring-grade plywood, securing every 150mm. Fill any seams or joints with a smoothing compound to create a perfectly flat surface.
- Plan the Layout: Measure the room carefully. For a flawless result, it is best to use a single sheet of vinyl if possible to avoid seams. If a seam is unavoidable, plan its location to be in a low-traffic area or where it will be least noticeable.
Step-by-Step Installation Instructions
- Make the Initial Cuts: Roll out the sheet vinyl in the room. Position it to cover the entire floor area, allowing the vinyl to run up the walls by at least 150mm on all sides. This excess material will be trimmed later.
- Roughly Trim the Vinyl: Using a utility knife, carefully make a rough cut around the perimeter of the room, leaving a 25-50mm excess of vinyl running up each wall. This will make the final trimming process more manageable.
- Position the Vinyl: Adjust the position of the vinyl until you are happy with the layout and it is as flat as possible. Ensure any patterns are aligned correctly with the room’s features.
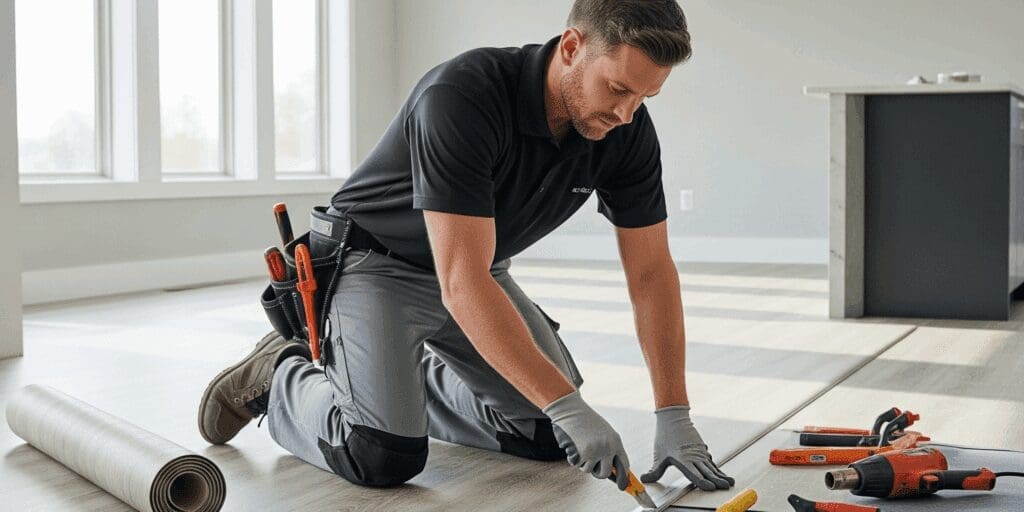
- Trim the Edges: This is a key step that requires patience and a sharp blade. Start in a corner. Gently press the vinyl into the crease between the wall and the floor. Using a straight edge and a sharp utility knife, carefully trim the vinyl along this crease. Work your way around the room, making sure to keep the blade at a slight angle to ensure a perfect fit. For corners, make a diagonal cut to release the tension before making the final trim.
- Apply the Adhesive (if required): For smaller rooms (under 12m2), a perimeter-only adhesive can be used. For larger rooms or high-traffic areas, a full-spread adhesive is recommended. Fold the vinyl back halfway. Use a notched trowel to spread a thin, even layer of adhesive over the exposed subfloor. Be careful not to apply too much.
- Lay the First Half: Slowly and carefully roll the vinyl back into place over the adhesive. Start from the centre and work outwards, smoothing the vinyl with a roller or block of wood to push out any air bubbles. Work your way from the centre to the edges to ensure a perfect bond and a smooth finish.
- Lay the Second Half: Repeat the process for the other half of the room. Fold back the remaining vinyl, apply the adhesive, and carefully lay the vinyl back down, smoothing as you go.
- Finish and Seal: Use a roller to apply firm pressure over the entire floor to ensure a strong bond. Clean off any excess adhesive immediately with a damp cloth and solvent. Replace skirting boards and door thresholds to protect the edges of the vinyl.
Post-Installation Tips & Troubleshooting
After Installation
- Avoid walking on the floor for at least 24 hours to allow the adhesive to fully cure.
- Do not place heavy furniture on the floor for 48 hours.
- Clean the floor regularly with a soft brush or vacuum cleaner. Use a damp mop with a mild cleaner; avoid harsh chemicals or abrasive cleaners.
Common Problems and Solutions
- Bubbles or Bumps: This is usually caused by air trapped under the vinyl. If bubbles appear soon after installation, they can often be smoothed out with a roller. For persistent bubbles, you can carefully pierce them with a pin and press the area flat.
- Creases or Wrinkles: This is a sign that the vinyl was not allowed to acclimatise properly or was not handled with care. The best solution is to carefully lift the affected area and re-lay it, or if it is severe, the sheet may need to be replaced.
- Poor Fit at the Edges: This is a result of incorrect trimming. Patience is key during this step. If the gap is small, it can be covered by skirting boards or quadrant beading.
- Adhesive Bleeding Through: This happens if too much adhesive is used. Clean up any excess adhesive as soon as it appears. If it has dried, a gentle solvent may be needed, but be careful not to damage the vinyl.